Ray Marching Basics
Ray marching is a 3D graphics rendering technique where the 3D scene is queried by rays. To simply put, a ray is fired from an arbitrary camera. This ray continues to move forwards until it hits (or misses) something. By segregating the colour output for these two cases, we can effectively render the world.
One technique of ray marching is sphere tracing. Suppose we have a scene with an arbitrarily number of objects. The safest way to march a ray at a given direction without missing any object is to incrementally displace the ray by a small amount. This works, but inefficient (How do we know if a ray has missed all objects or is simply on its way to hit an object gazillion kilometres away?).
Another method is to calculate the distance from the ray’s position to the closest point on the surface of every object, regardless of whether the ray will potentially hit that object. If the ray travels by the minimum distance of this, it will eventually stop marching and that is when the ray hits an object - such a method is called Sphere Tracing
The underlying mathematical function in Sphere Tracing is Signed Distance Function or SDF. Given a point and a shape, a SDF gives the distance from the point to the closest surface of the shape. It is called Signed Distance because the distance is negative if the point is within the shape.
For example, the signed distance function for a sphere is given by the following formula:
\[sdf(o, r, p) = len(p - o) -r\]where \(p\) is the point, \(o\) is the origin, \(r\) is the radius of the sphere and \(len(x)\) is the length of the vector \(x\). Intuitively, if the point exists within the sphere, the length from the origin to the point is smaller than the radius of the sphere. If the point is somewhere outside the sphere, the length is greater than the radius and if the point is on the surface of the sphere, the distance equals to the radius.
You can find a collection of signed distance functions for common shapes on the internet. In this article, I will construct a simple ray marching scene consists of only a sphere.
Context
I will be using Shadertoy write code. Code is written in GLSL.
Setting Up
We first convert UV coordinates to be in the range of [-1, 1]. This UV coordinates will represent the direction of a ray. The process behind obtaining such a vector is to be discussed in the following article.
void mainImage( out vec4 fragColor, in vec2 fragCoord )
{
    // map uv in range of [-1, 1]
    vec2  uv = (2.0 * fragCoord.xy - iResolution.xy) / iResolution.y;

    // Output to screen
    fragColor = vec4(vec2(uv), 0.0 ,1.0);
}
We create a ray marching scene that consists of only a sphere of radius 1 centred at <0, 0, 0>.
float sdf(vec3 origin, float radius, vec3 point)
{
    return length(point - origin) - radius;
}

float map(vec3 ray)
{
    return sdf(vec3(0.0), 1.0, ray);
}
Ray Marching
Now that we have a scene ready, we can start ray marching. We first define an arbitrary camera (ray origin) at <0, 0, -3>. A ray is shot from this point to the direction defined by the UV coordinates.
void mainImage( out vec4 fragColor, in vec2 fragCoord )
{
    // map uv in range of [-1, 1]
    vec2  uv = (2.0 * fragCoord.xy - iResolution.xy) / iResolution.y;

    vec3 origin = vec3(0.0, 0.0, -3.0);
    vec3 direction = normalize(vec3(uv, 1.0));

    // Output to screen
    fragColor = vec4(vec2(uv), 0.0 ,1.0);
}
We define the actual ray march function. This function will take origin and direction vector and convert them into actual ray.
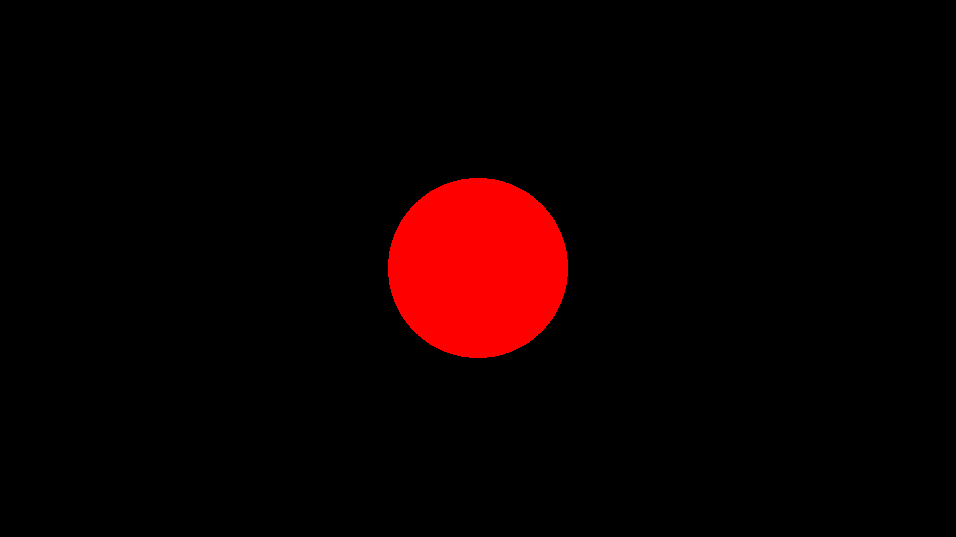
We iteratively increment the distance travelled by the ray until it hits something (i.e when map returns a float value so small that we essentially consider as 0). For now, this function will return the colour red when hit and black otherwise.
vec3 march(vec3 origin, vec3 direction)
{
    float eps = 1e-6;  // < eps considered 0.
    float dist = 0.0;  //  Total distance travelled

    // Stop marching if it hasn't hit something after 32 iterations.
    int maxStep = 32;
    for(int i = 0; i < maxStep; i++)
    {
        vec3 ray = origin + direction * dist;
        float result = map(ray);
        if(result < eps)
        {
            // We hit something
            return vec3(1.0, 0.0, 0.0);
        }

        dist += result; // Move the ray.
    }

    return vec3(0.0);
}
The result looks like this:
The entire code:
float sdf(vec3 origin, float radius, vec3 point)
{
    return length(point - origin) - radius;
}

float map(vec3 ray)
{
    return sdf(vec3(0.0), 1.0, ray);
}

vec3 march(vec3 origin, vec3 direction)
{
    float eps = 1e-6;  // < eps considered 0.
    float dist = 0.0;  //  Total distance travelled

    // Stop marching if it hasn't hit something after 32 iterations.
    int maxStep = 32;
    for(int i = 0; i < maxStep; i++)
    {
        vec3 ray = origin + direction * dist;
        float result = map(ray);
        if(result < eps)
        {
            // We hit something
            return vec3(1.0, 0.0, 0.0);
        }

        dist += result; // Move the ray.
    }

    return vec3(0.0);
}

void mainImage( out vec4 fragColor, in vec2 fragCoord )
{
    // map uv in range of [-1, 1]
    vec2  uv = (2.0 * fragCoord.xy - iResolution.xy) / iResolution.y;

    vec3 origin = vec3(0.0, 0.0, -3.0);
    vec3 direction = normalize(vec3(uv, 1.0));

    // Output to screen
    fragColor = vec4(march(origin, direction) ,1.0);
}
Normals
In order to shade objects, we need normal vectors. For spheres, we normalise the vector \(surface - origin\) to calculate normals. However, this only works for spheres - we need something else that is more flexible.
Surprisingly, it is quite easy to calculate normal vectors: we just deviate the ray by a small amount in each axis, comebine them into a vector and normalise it.
The code looks like this:
vec3 normal(vec3 point)
{
    vec2 eps = vec2(1e-3, 0.0);

    float x = map(point + eps.xyy) - map(point - eps.xyy);
    float y = map(point + eps.yxy) - map(point - eps.yxy);
    float z = map(point + eps.yyx) - map(point - eps.yyx);

    return normalize(vec3(x, y, z));
}
If we cast two more rays whose directions differ slightly by equal amount in the positive and negtive x axis, respectively, and subtract the result from one another, we essentially obtain the difference in length from the two rays.
\[Ray_\text{right} = Ray_\text{centre} + d_1\] \[Ray_\text{left} = Ray_\text{centre} + d_2\] \[Ray_\text{right} - Ray_\text{left} = d_1 - d_2\]\(d_1 - d_2\) is the value of normal in one axis.
Suppose a ray hits the exact centre of a sphere whose origin is parallel to the ray direction. (such as the red sphere we just rendered). Since a sphere is spherically symmetric, \(d_1 = d_2\) for all axis (even the z-axis).
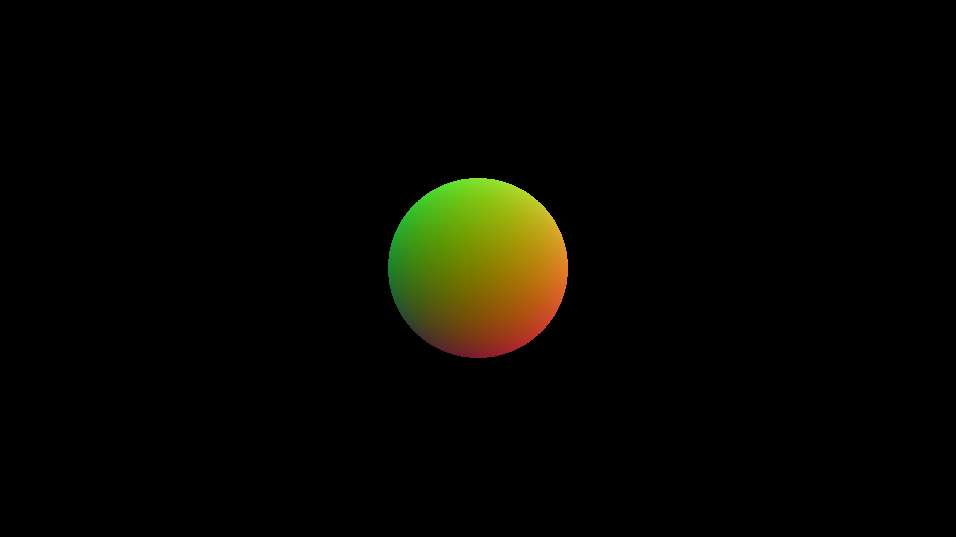
If a ray hits the right side of a sphere, \(d_1 > d_2\) since \(ray_\text{right}\) will need to travel slightly further than \(ray_\text{left}\) to hit the surface of the sphere. Hence, the normal vector at this point will point in the direction of the positive x-axis. For other axis this concept remains the same.
The output of the normal function is shown below:
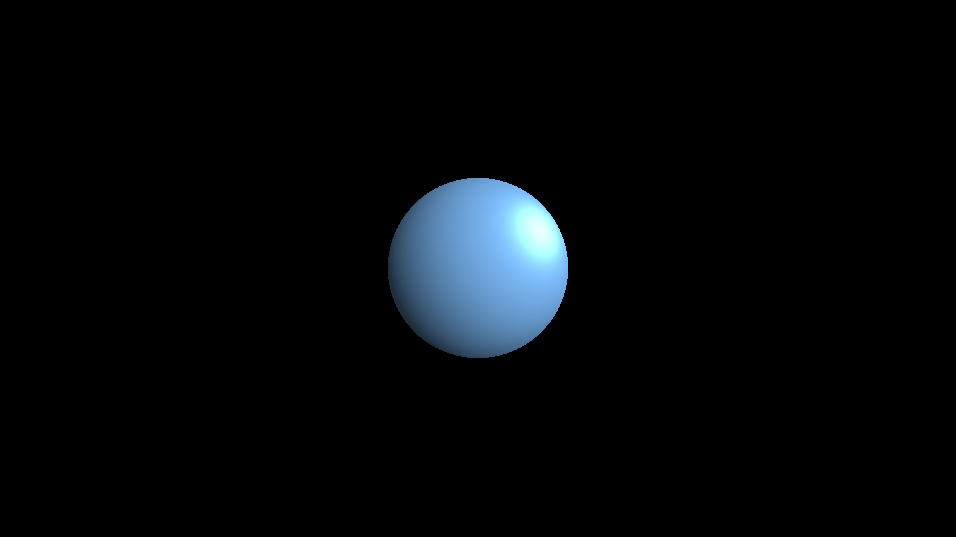
Now you can finalise ray marching by implementing a light source and shading the sphere.
There are a lot more to cover for ray such as transformation, boolean operation and fractal. However, for the sake of this article (and my inadequate knowledge in ray marching), I stop here.